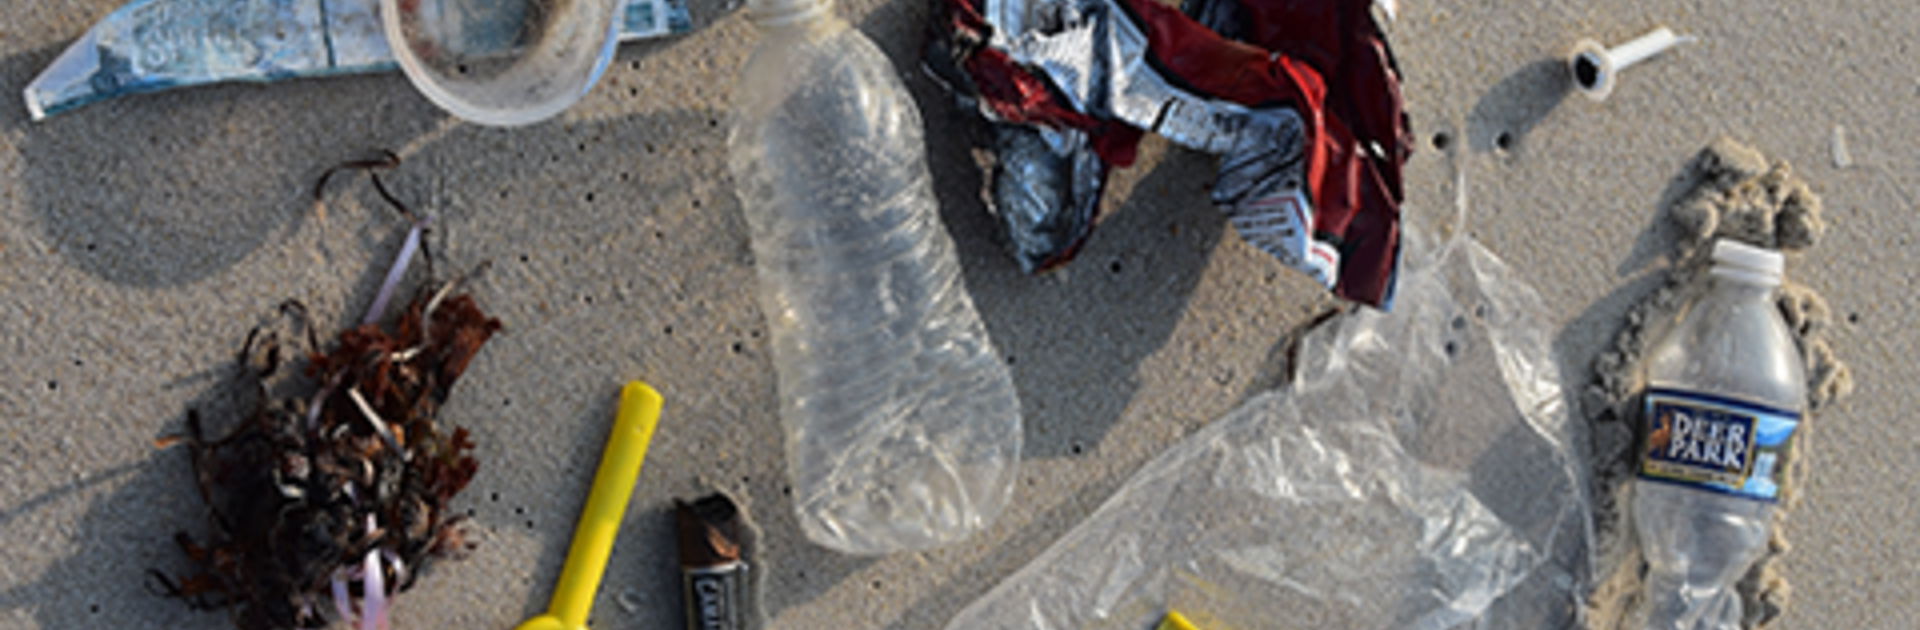
Lesson 3: From Hand, to Land, to Sea
Download the Lesson 3 Teacher/Facilitator Guide
Download the Lesson 3 Student Workbook
Watch Lesson 3 Video
Key Ideas
- How do we describe, quantify, and communicate about issues related to plastic waste?
- What are the causes and effects of pollution?
- What are the sources of plastic pollution?
- How and why does plastic pollution enter our waterways?
- How can we communicate our ideas, inform perspectives, and inspire action?
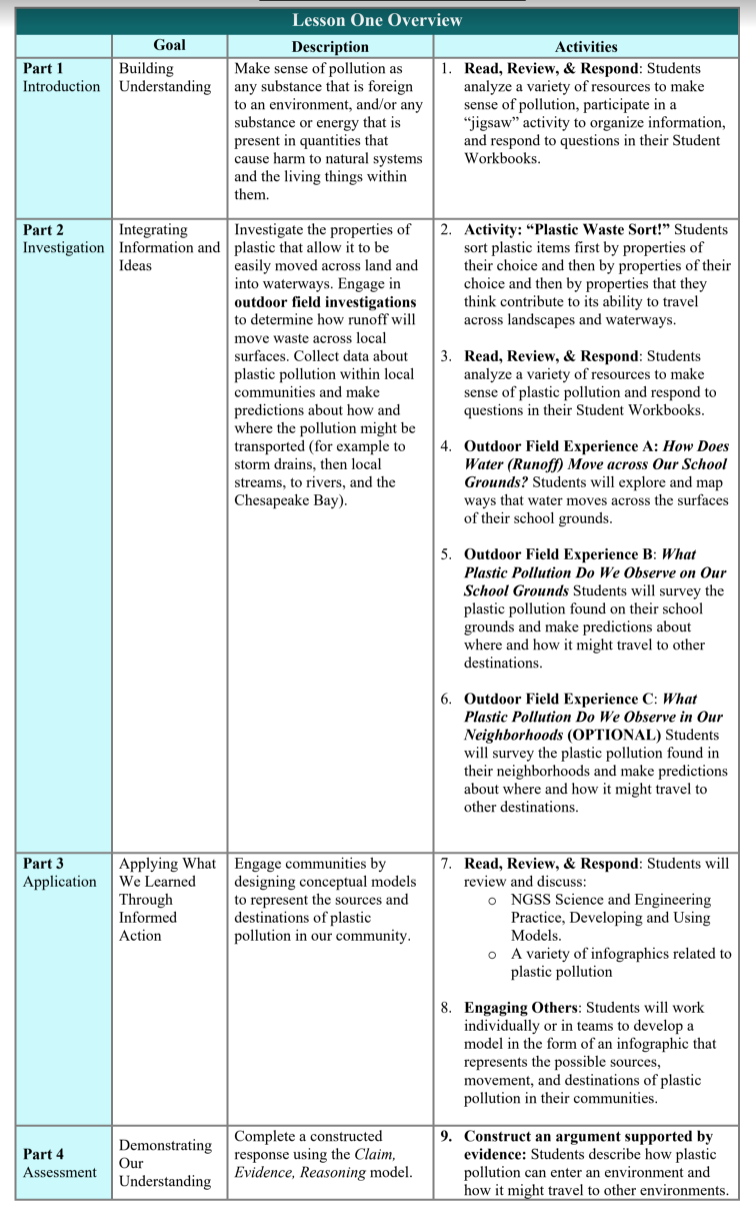
Lesson Overview
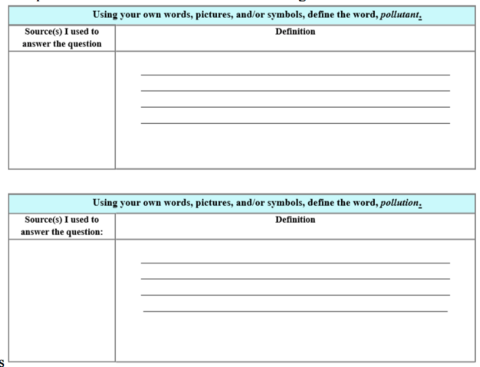
Activity 1-Review & Respond: What is Pollution?
Background
Objectives:
- Obtain, evaluate, and communicate information about the types of pollution and the negative impacts it can have on the environment and living things
Students will:
- Download the “What is Pollution” article from UMCES Wave of Plastic and Pollution and Pollutant Definition Tables
- Learn about pollution and how it can negatively impact many of Earth’s systems, including the atmosphere, land, waterbodies, and living things.
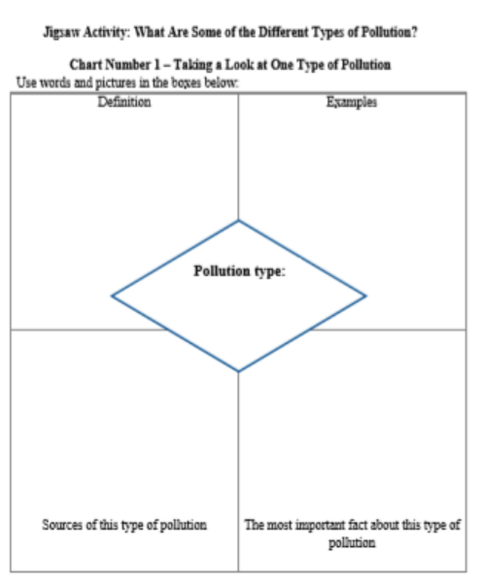
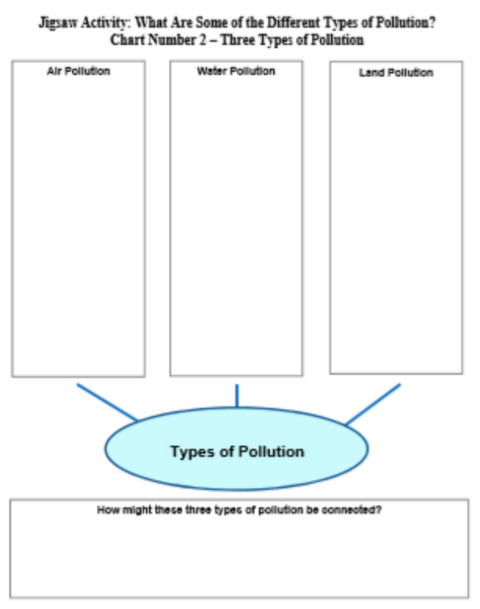
- Download the Jigsaw Activity “What Are Some of the Different Types of Pollution?”, Charts 1 and Chart 2
Directions
Step 1- Review the “What is Pollution” article.
Step 2- Fill out the Pollution and Pollutant Definition Tables, using what you learned from the article.
Step 3- Pick a Pollution Type you have learned about and fill out Chart Number 1 for the Jigsaw Activity.
Step 4- Fill out Chart Number 2 for the Jigsaw Activity by thinking about different examples for each of the types of pollution in the boxes.
Discussion
- Discuss your answers to the following questions:
- What is the difference between “pollution” and a “pollutant”?
- How are the three types of pollution (air, water, and land) connected?
- What impacts on ecosystems and animals do the different types of pollution (air, water, and land) have?
Activity 2-Plastic Waste Sort!
Background
Objectives:
- Explore the different properties of plastics by sorting plastic waste items.
Students will:
- Obtain a variety of plastic waste items (e.g. plastic bags, straws, utensils, containers)
- Sort plastic items first by properties of your choice and then by properties that you think contribute to the items’ abilities to travel across landscapes.
- Discuss observations and reasoning for your selections.
Directions
Step 1- Observe the different items of plastic waste and sort the plastics based on their properties. (for example, could sort by color, weight, size, etc.)
Step 2-Re-mix the plastic items together.
Step 3- Conduct a second sort that specifically focuses on sorting the plastics by properties that allow plastics to travel easily by water or air. Think about where you have seen plastic trash and what properties allowed it to travel to that place (for example, it may be lightweight, durable, buoyant, sturdy, or resistant to corrosion).
Discussion
Discuss your answers to the following questions:
- What properties did you choose to sort your items for the first and second sorts?
- What observations were you able to make about the sorted items and their properties? Were certain items more likely to have certain properties (e.g. plastic bags/film more likely to be lightweight and buoyant)?
Activity 3-Read, Review, and Respond: From Hand, to Land, to Sea
Background
Objectives:
- Read informational text about how plastic pollution moves across land and into water.
Students will:
- Download the article “From Hand, to Land, to Sea” and the NOAA Marine Debris Sample Infographics (“Rains can lead to an increased amount of marine debris” and “Microplastics on National Park Beaches”).
- Access the NOAA video, “What are microplastics?”
- Analyze the variety of resources to make sense of plastic pollution.
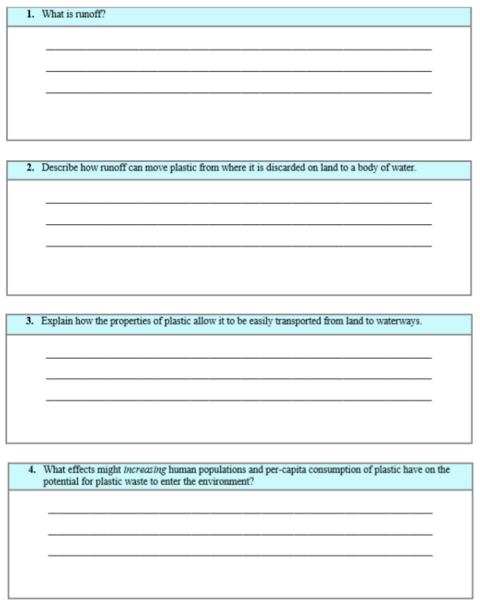
- Download the “Runoff Table”.
Directions
Step 1- Review the resources provided (article, infographics, and video).
Step 2- Fill out the Runoff Table, using the information you gathered from the resources.
Discussion
Discuss your answers to the following questions:
- Why do you think the authors decided to title the article, “From Hand, to Land, to Sea”?
Activity 4- How Does Water Move Across My Neighborhood's Grounds?
Background
Objectives:
- Investigate how water (runoff) moves across your school grounds or neighborhood.
- Students will:
- Use a map service or app (such as Google Maps) to print out or view a map of your school grounds or neighborhood.
- Sketch a map of your school grounds or neighborhood, make predictions about water flow, and then test your predictions on your school grounds or in your neighborhood.
- Retrieve some containers of water (e.g. cups, bottles, or buckets).
Directions
Step 1- Use the printed map or image of the map of your school grounds or neighborhood to sketch or trace a map. Make sure you especially sketch out waterways (rivers, streams) and natural and man-made features (shrubbery, pavement, etc).
Step 2- Discuss what predictions you have for a) how water will move in the form of runoff on your school grounds or neighborhood (direction, flow, speed) and b) what factors might influence the way runoff moves across the site (e.g. paved surfaces might slope toward storm drains, grassy areas might absorb water and limit runoff, etc.).
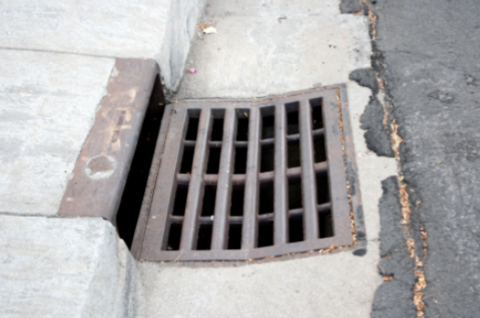
Step 3- Choose a site on your map to explore (make sure there are storm drains nearby)- go there and bring containers of water and your map (and a pencil)!
Step 4- Once you get to your site, make predictions about where the water will go if you pour it from different locations in your site- mark your chosen sites on your map with an “x”.
Step 5- Pour the water out at your different “x”-marked locations and then map the flow of water on your map, using arrows to show the direction of the water.
Discussion
Discuss your answers to the following questions:
- What features of the land seem to influence the direction that water flows? Do those features seem to be natural or man-made? Why do you think that is?
- What did you notice about the location of storm drains on your site?
- What are some of the advantages of runoff traveling to and entering storm drains?
- What are some of the negative effects of runoff traveling to and entering storm drains?
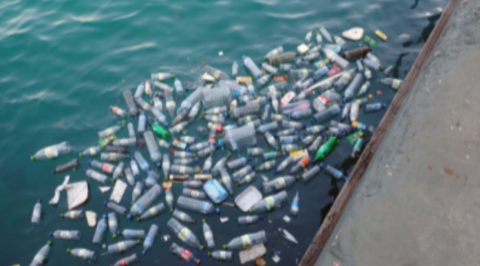
Activity 5- What Plastic Pollution Do We Observe on Our Neighborhood Grounds?
Background
Objectives:
- Conduct a survey of the plastic pollution found on your school grounds and/or in your neighborhood.
Students will:
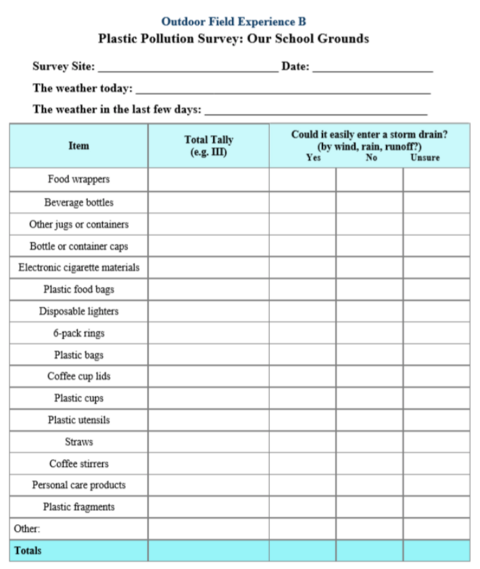
- Download the Plastic Pollution Survey data collection sheet (either for your school grounds or neighborhood) and “Types of Plastic Trash” handout
- Obtain some gloves and tongs (if you will be collecting plastic waste)
- Conduct surveys of the plastic pollution on their school grounds and/or neighborhood and draw conclusions about the movement and destinations of plastic waste.

Directions
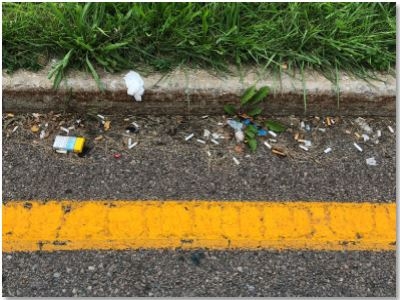
Step 1- Take a walk around your school grounds or neighborhood and note each item of plastic trash you see (use the “Types of Plastic Trash” handout to help you).
Step 2- Keep track of how many of each type of plastic trash pollution that you see during your walk using the Plastic Pollution Survey data collection sheet.
Step 3- Use the data collections sheet to note whether the items may easily be moved by wind or runoff into a storm drain (and thus a waterway).
Discussion
Discuss your answers to the following questions:
- Where do you think that the plastic pollution you observed during your survey will ‘end up?’ How will it get there?
- Why is it important to consider recent weather events when conducting your survey? How could weather affect the plastic you observe and where it might ‘end up?’
- How do you think the amount of plastic waste you observed compares to other schools or neighborhoods/communities?
- How would you describe the amount of plastic waste that enters our local waterways (considering all the sources in your area)?
- Considering the per-capita amounts generated, why is plastic waste harmful to ecosystems?
Activity 6- Review & Respond: Modeling How Plastics Get into the Chesapeake Bay

Background
Objectives:
- Explore how conceptual models are used in science.
- Review examples of conceptual models in the form of infographics that explain concepts related to plastic pollution.
- Work individually or in teams to develop a model in the form of an infographic that represents the possible sources, movement, and destinations of plastic pollution in your community.
Students will:
- Download the following resources: Bozeman Science video “Developing and Using Models”, UMCES PlasticWatch Infographic “How Do Plastics Get into the Chesapeake Bay?”, NOAA Infographic “Threats to Coral Reefs, Land-based Sources of Pollution”, NOAA Marine Debris Program Infographics “Plastics in the Ocean” and “Microplastics on National Park Beaches”
- Review the resources to understand how to create an effective infographic.
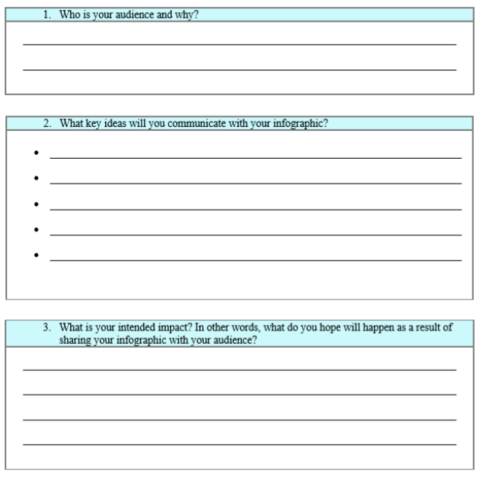
- Download the “Design Your Own Infographic” Table.
- Access the following materials to help with creating your infographic: online software program (e.g. Canva.com, Microsoft Publisher, Google Slides, Wixie), poster paper and markers, or infographic design websites (e.g. Easel.ly, Infogr.am)
- Design your own conceptual model, using the UMCES PlasticWatch infographic as inspiration.
Directions
Step 1- Review the resources provided.
Step 2- Fill out the “Design Your Own Infographic” Table and then sketch out your infographic idea (using the UMCES PlasticWatch infographic as an example).
Step 3- Use an online software program, infographic design website, or poster paper and markers to make a final version of your infographic.
Discussion
Discuss your answers to the following questions:
- How and why do we use models in science?
- What are examples of models?
- What are infographics?
- What makes infographics effective and/or ineffective?